
Stay at Home Make-Up Tips

Most of us are now into April with stay-at-home orders still in effect due to the global health crisis. Stuck inside for a month now, we've come up with all sorts of activities to do to keep us busy and stave off the boredom like as as playing cards, streaming video, doing puzzles, or consuming way too much social media. But just like any other skill, if you're looking to perfect your look for when the health restrictions are lifted, practice makes perfect. So why not get our your pallets out and spend a couple of hours getting you ready for you first outing when the stay-at-home order are lifted? Supplies can easily be ordered online, so no need to worry about running out of base or foundation and liner while you practice you technique. Just don't use too much toilet paper for clean-up!
Here are a few tips for a fun makeup practice session:
Find a good Spot to Work
A good mirror and good lighting are the keys to properly applying makeup. The bathroom usually has good light, so that is a good option. Or, if you have a dedicated makeup station in your room with a good mirror and a place for your supplies, then do it there. You want a place where you can work quietly and effectively.
Set the Mood
Sometimes listening to your favorite podcast or music playlist can get your creative juices flowing. You phone and decent speaker are great tools you can add to your makeup kit. Just make sure the batteries are charged up! Some people find doing their makeup and skincare therapeutic. If you are doing your makeup in the morning, maybe have a cup of coffee or tea. Maybe even FaceTime, Zoom, or call a friend or family member to get feedback and opinions.
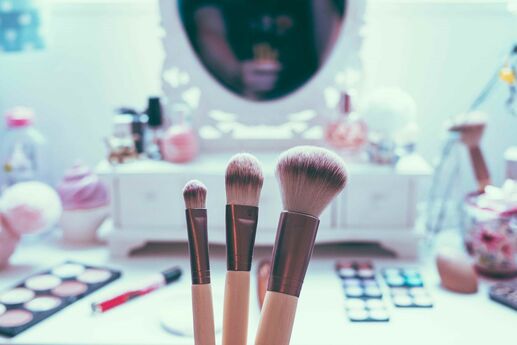
Make Sure You Tools are Clean
Clean brushes are always a great way to start a practice session, so make sure your makeup kit is in order and your brushes are clean and you products are not broken or expired. To tell if your products are expired, simply smell the product. If it smells odd, then maybe it is time to throw it out. Also, check the expiration date on the component or the outside package. There should be a little container symbol that will tell you how long it lasts (example: 12 months).
When pandemic and health crisis over, we'll have regrets about not getting six-pack abs or writing a novel, so don't waste this valuable opportunity. You've got some extra time on your hands, put it to good use by working on your make-up skills!