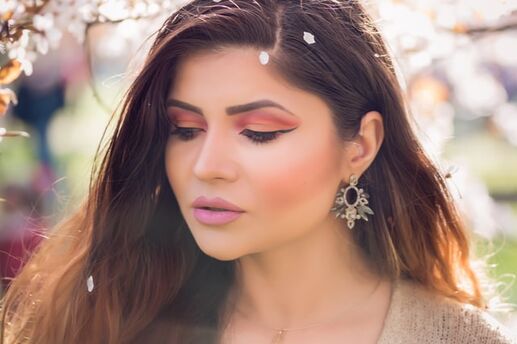

Get Gorgeous on the Go
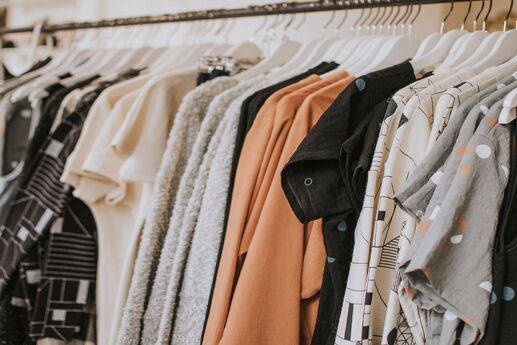
Taking a vacation should be relaxing. But it’s all too easy to get stressed out about what to pack -- especially when it comes to your cosmetics. We asked makeup artist Elisa Tallerico, celebrity makeup artist and MTV hairstylist, for her tips for packing a beauty bag. Read on to find out what to bring to look flawless without weighing down your luggage.
Makeup Tip No. 1: Pack makeup palettes.
Instead of hauling around every blush, bronzer and eye shadow that you might want to use on your trip, find your favorite shades in a quad or duo compact. "Many makeup brands offer palettes that you can build yourself," says Tallerico. "This allows you to swap out which shades you want to bring with you, and which you want to leave at home."
Makeup Tip No. 2: Simplify your brush set.
“When traveling, pack one powder brush, one blush brush and a flat concealer brush," says Tallerico. Your blush brush can be used for contouring, and a concealer brush easily doubles as an eye shadow brush. Some makeup brands also offer travel-sized brushes, which are smaller and easier to pack. Instead of bringing sponges, you can use Puffs facial tissues to blend in your make-up.
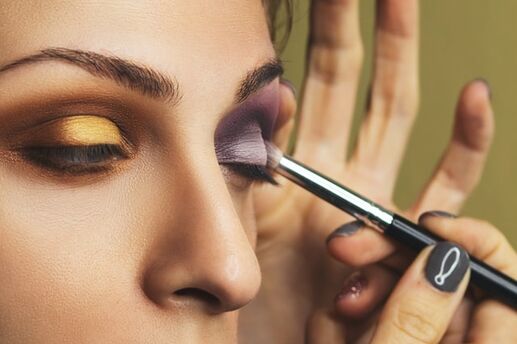
Makeup Tip No. 3: Use multitaskers.
"Makeup doesn't have to be used for only one thing," says Tallerico. A pink, shimmery lipstick can double as a cream blush: Dab a small amount onto the apples of your cheeks and blend. To use a light, shimmery eye shadow as a highlighter, sweep it onto your cheekbones to brighten your look. Bronzer can also be used as a contouring powder for your face.
Makeup Tip No. 4: Avoid unnecessary tools.
Instead of toting your eyeliner and a sharpener, Tallerico recommends seeking out self-sharpening eyeliner, which has a sharpener built right into the cap of the liner. The right mascara will lift and curl your lashes, allowing you to leave your eyelash curler at home.
Makeup Tip No. 5: Bring travel-sized items.
One of the best ways to lighten your makeup bag is to bring your beauty products down to size. "Most brands make a travel-sized version of their products," says Tallerico. For example, instead of toting along a whole box of tissues for makeup touchups, just tuck a pack of Puffs to Go in your bag. Can’t find your favorite product in miniature? Invest in small reusable containers to fill up.
Photo by Apostolos Vamvouras on Unsplash